Get a free notion reading tracker
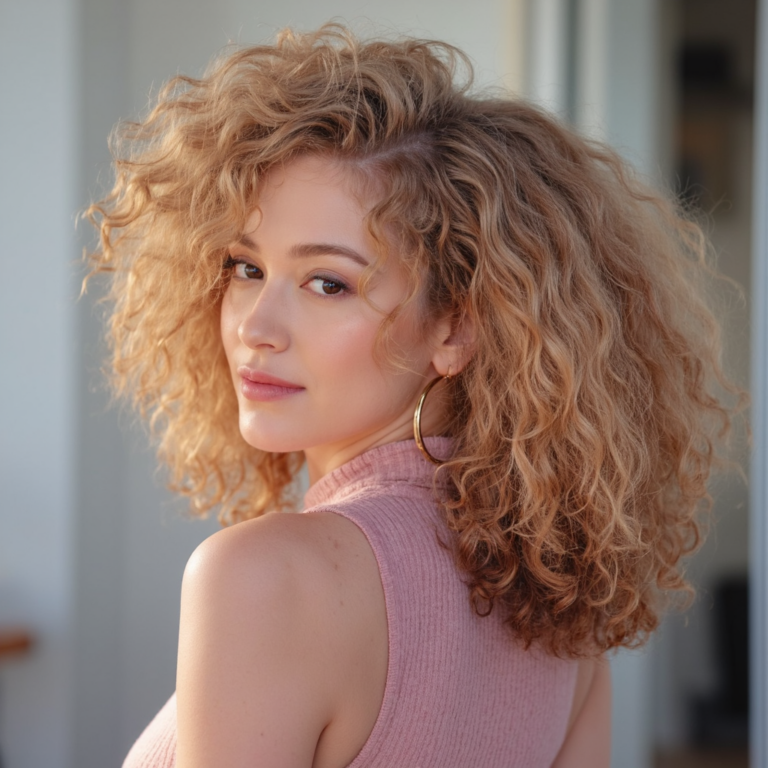
How to Style Curly Hair: Best Methods for Different Curls Type
Curly girl styling method
Curly hair requires the right techniques to enhance definition, reduce frizz, and maintain healthy curls.
If you’re wondering how to style curly hair, you’re in the right place! The best curly hair styling methods depend on your curl pattern, hair type, and personal preference.
💡 Related Post: The Ultimate Curly Hair Care Routine for Healthy, Defined Curls
How to Style Curly Hair
Curly Girl Styling Routine
1. Rake and Shake Method
The rake-and-shake method is great for defining curls while ensuring even product distribution.
Pros
• Ensures even product distribution
• Defines curls without frizz
• Works well for most curl patterns
Cons
• Can separate curls too much, leading to less clumping
• May not provide enough hold for tighter curl types
Best For: Loose to medium curls (2C–3B)
How to Do It:
1. Apply a leave-in conditioner or styling cream to damp hair.
2. Use your fingers like a rake to separate and smooth the product through your hair.
3. When you reach the ends, gently shake your hand to encourage curl formation.
4. Let your curls air dry or diffuse for added volume.
2. Praying Hands Method
This technique is gentle and frizz-reducing, perfect for applying products without disturbing the curl pattern.
Pros
• Reduces frizz
• Keeps curls clumped together for better definition
• Gentle on fine hair
Cons
• Does not evenly distribute product to all strands
• Can weigh down wavy or fine curls if too much product is used
Best For: Fine or looser curls (2B–3A)
How to Do It:
1. Take a small amount of gel or cream and rub it between your hands.
2. Place your hands together in a prayer-like position, sandwiching a section of hair between them.
3. Smooth the product downward, keeping your hair clumped together.
4. Scrunch your curls upward to encourage definition.
3. Plopping
Plopping helps reduce drying time and enhances curl definition without frizz.
Pros
• Reduces drying time
• Prevents frizz by keeping curls in place
• Adds volume and bounce
Cons
• Can flatten the crown if wrapped too tightly
• May not work as well for very short curls
Best For: Enhancing curl shape and volume
How to Do It:
1. After applying your styling products, place a microfiber towel or cotton T-shirt on a flat surface.
2. Flip your head over and gently place your curls onto the fabric.
3. Wrap the fabric around your head and secure it.
4. Leave it on for 15–30 minutes before air drying or diffusing.
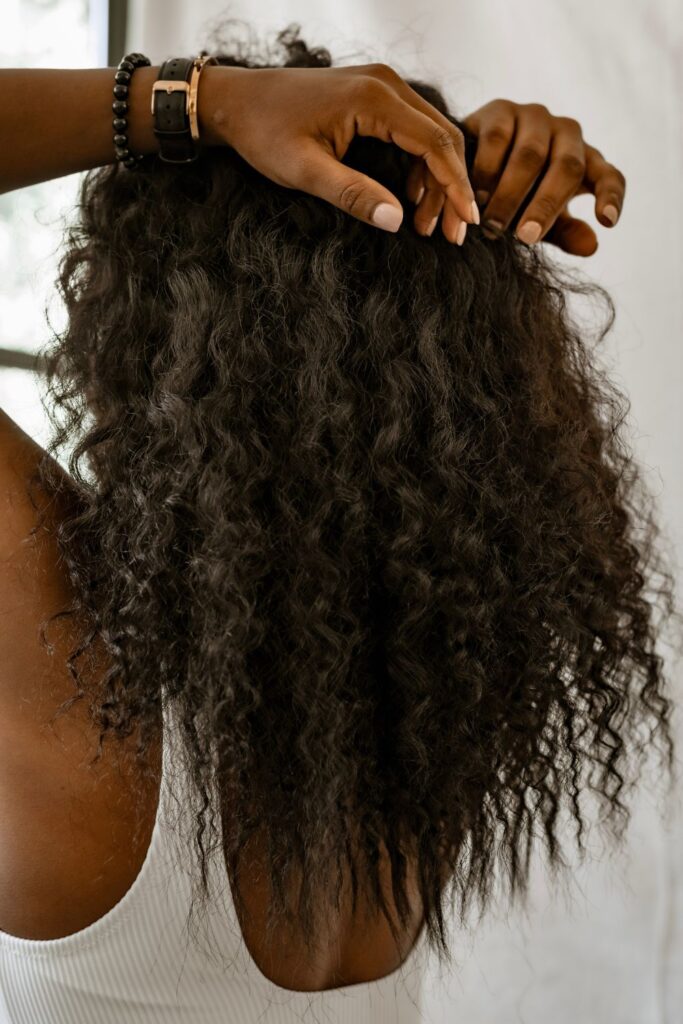
4. Finger Coiling Method
This technique helps define individual curls, especially if you have uneven curl patterns. This method is best for tighter curls and coils (3C–4C).
Pros
• Creates super-defined curls
• Helps reshape uneven curl patterns
• Enhances curl memory for longer-lasting definition
Cons
• Time-consuming, especially for long or thick hair
• Can lead to product buildup if overused
Best For: Tighter curls and coils (3C–4C)
How to Do It:
1. Apply a curl-defining cream or gel to damp hair.
2. Take small sections of hair and wrap them around your finger.
3. Hold for a few seconds, then release.
4. Allow your hair to air dry or diffuse.
5. Scrunching
Scrunching is one of the simplest styling methods to enhance natural curls and waves.
Pros
• Quick and easy to do
• Enhances curl shape without effort
• Adds volume and bounce
Cons
• Can create frizz if not done properly
• Works best when paired with another styling method for hold
Best For: Wavy to curly hair (2A–3B)
How to Do It:
1. Apply a lightweight gel or mousse to damp hair.
2. Flip your head upside down and scrunch your curls upward toward the scalp.
3. Let your curls dry naturally or use a diffuser.
Conclusion
Each curl type responds differently to styling techniques, so it’s important to experiment and find what works best for your hair. Whether you prefer rake and shake, praying hands, plopping, finger coiling, or scrunching, using the right method can help you achieve well-defined, healthy curls.
Want more curly hair tips? Check out: